Creating HDRIs using Daz assets - Cityscapes, etc
 Sevrin
Posts: 6,310
I want a set of HDRIs to use as background for office scenes. Like to have the same view with different lighting. Most of the city backdrops HDRIs are from street level, and I would the perspective to be from a bit higher up as if you're looking out of a window in an office, or maybe an apartment. There are a couple of them at Shutterstock, but it's hard to know what image format they're in, and they mostly look to be some kind of stylized archviz stuff. I own a couple of the cityscape backgrounds, and have used them, but they're not entirely what I want.
So I was wondering about making my own. I own Urban Sprawl 3, which is nice, but I wondered how that would look if I set them up surrounding a camera set to spherical. The set comes with Daylight and Nighttime presets, which I like. I'm not fussed about what it looks like directly below, as I wouldn't have my camera pointing down.
I gave it a shot and thought I'd share my first results, because they're not awful.
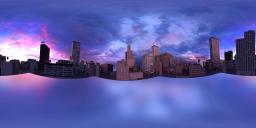
I laid out the 5 blocks from Urban Sprawl 3 and then instanced 3 of them to give me 8 blocks arranged in a square around the world centre. For lighting, I used Orestes Witches Twilight, because just look at it. Then I took a camera, changed the Lens Distortion Type to spherical and elevated it to around 1500 whatsits and gave it a whirl, rendering to canvasses to get 32-bit EXR files, which I could then composite (not really necessary) and save as HDR files. My first attempt was only at 1440x720 because it was just a test, and I was going to use it with depth of field anyway. It rendered super fast.
This is a JPG of that HDRI. Yeah. That's all it is. I didn't have a floor or anything in the centre of the scene.

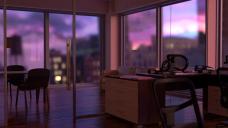
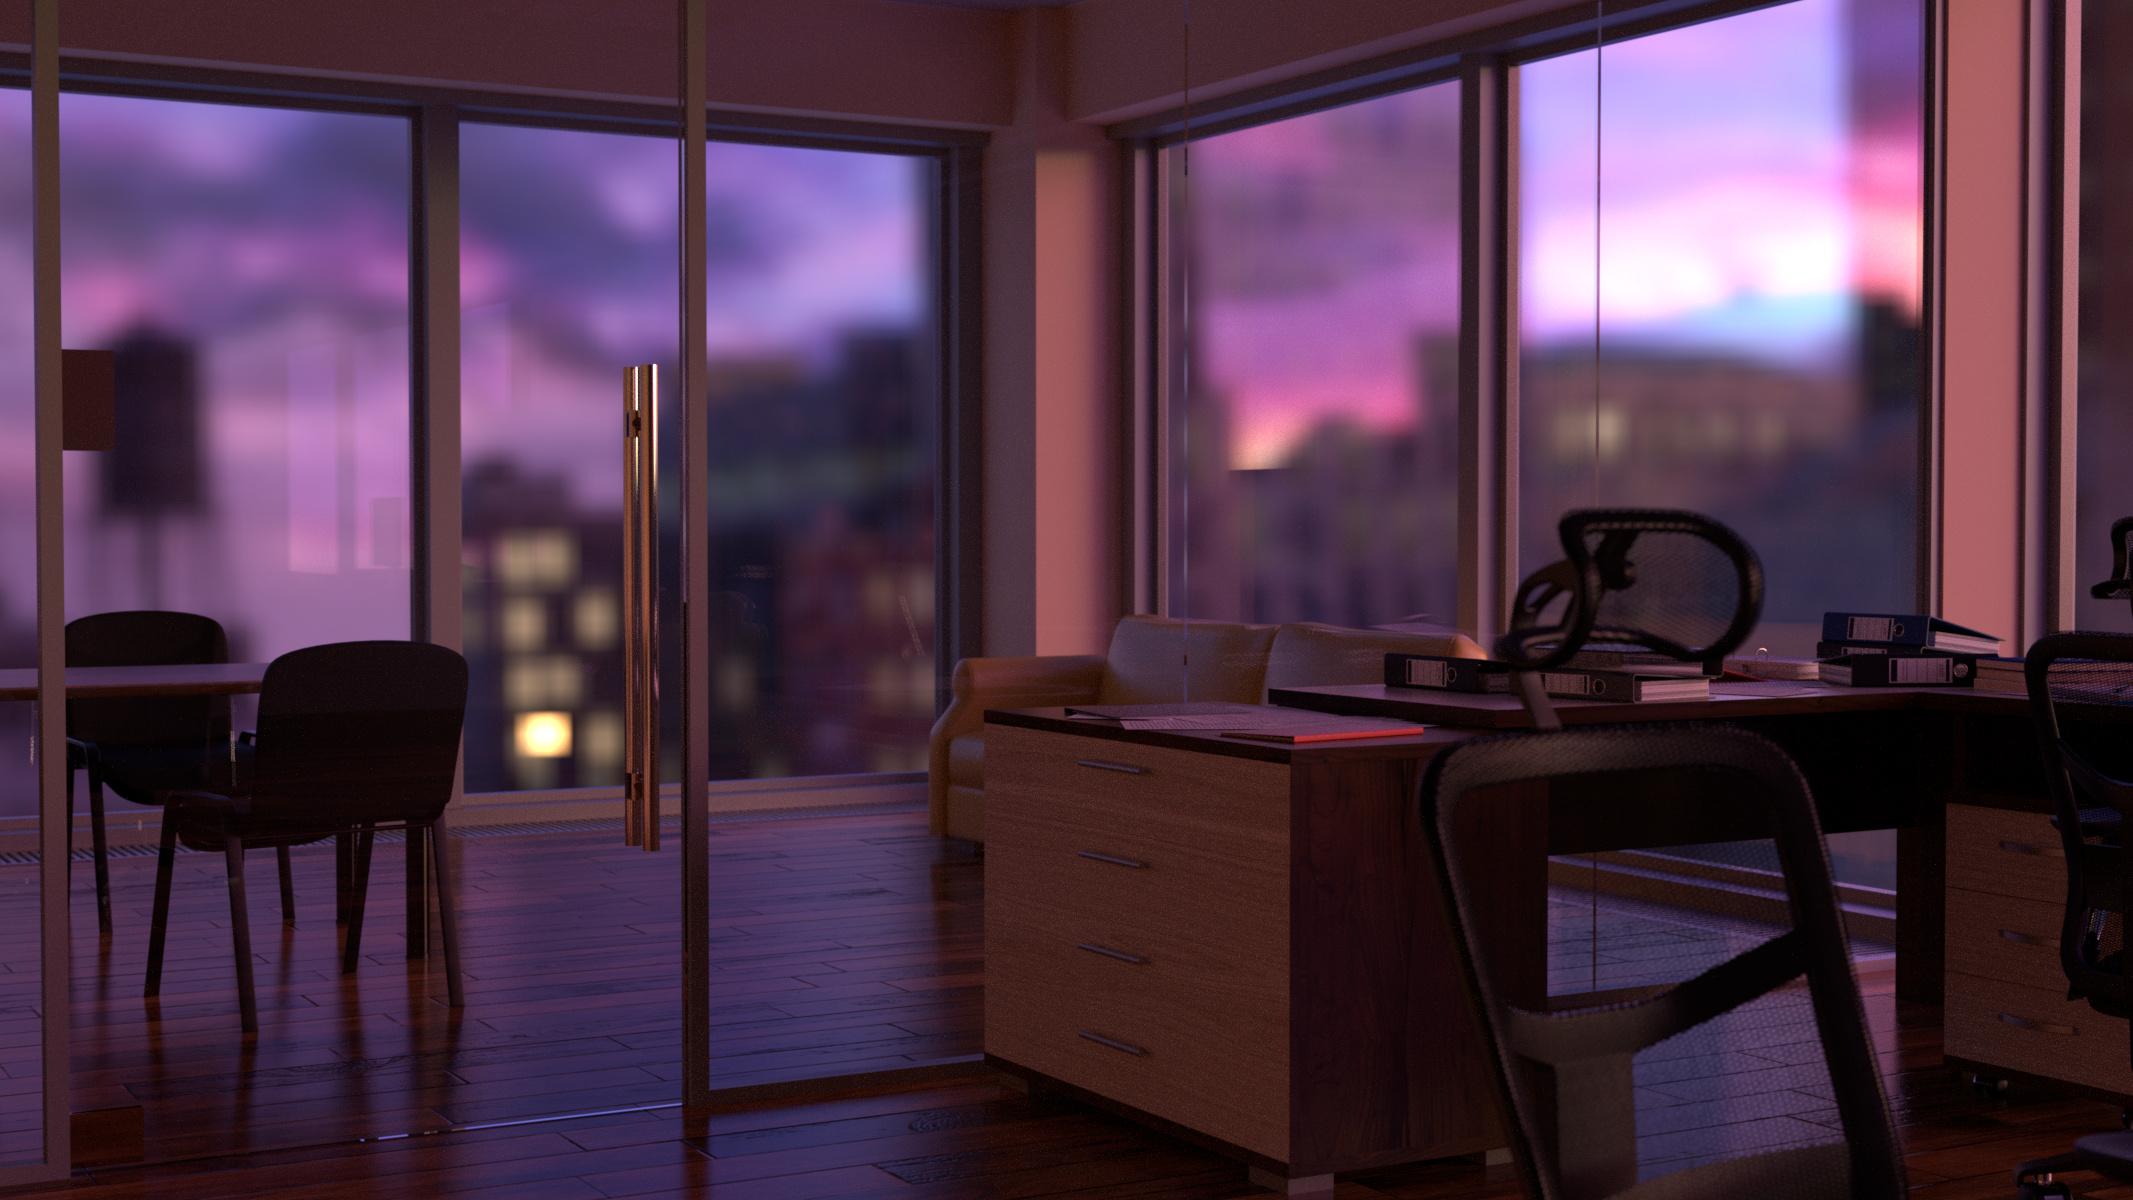
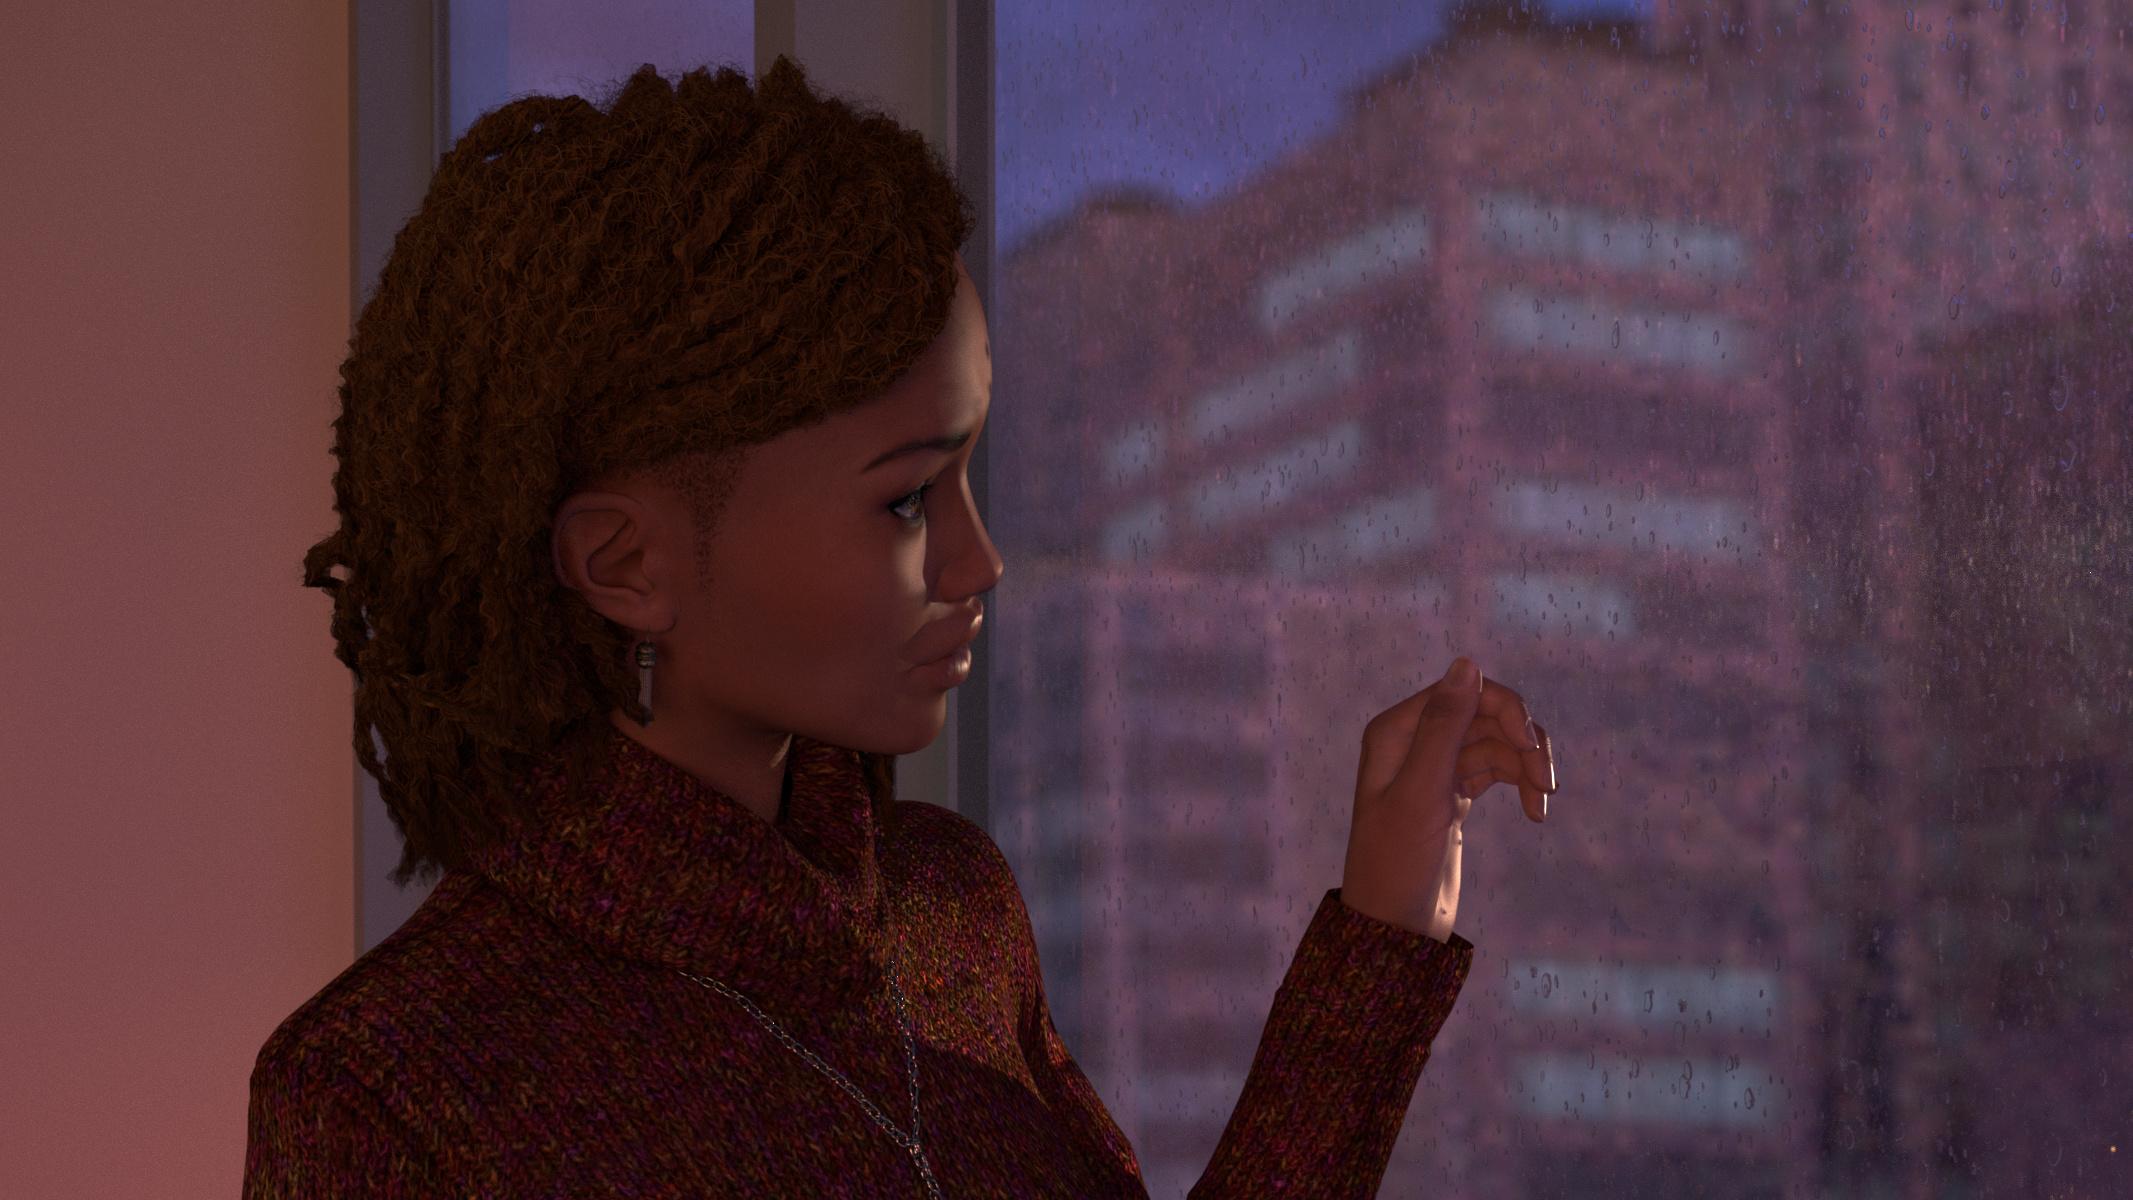
Then I tried it out as an HDRI in a couple of test renders. The renders are nothing fancy. The empty office has nothing but the HDRI as lighting and no adjustments except to bring exposure down, while the image with the beautiful Kerry has a spot, as well and a relective plane behind her and I did minor post. Normally I'd do more to make her hair look nicer, but I wanted to see how the HDRI worked mostly.
Anyway, this works with stuff like Ultrascenery sets, too. If you want to have the scenery and lighting look nice, you'd render at a high resolution than I did here, like at least 4000x2000, but once you have that done, you can add more stuff than you could if you had all the scenery geometry and textures in the scene, as well. If you want to set up a complex scene like with a hairy HD character with clothes and a couple of shaggy dogs or something, this is worth considering. The possibilities are endless!





Comments
Wow, Thank you su much for sharing I was looking for a cityscape like that also, goes perfect with the MMD "On the Rocks" conversion I'm trying to do.
This is fabulous work, Sevrin.
If you get the time and inclination, it would be very helpful if you would lay out a step-by-step of which canvases you rendered to, and how you brought it all together into an HDRI. I was discussing this in another thread (that I can't find right now—will edit and link when I can), using Melissa's method for creating HDRIs with the spherical camera, but not using canvases. I tried rendering a Beauty Canvas, but something was wrong because it was a mess.
Great job!
EDIT TO ADD: Here's the thread started by Melissa Conway, with her method.
DIY Iray HDRI using DAZ Studio renders
There, the idea of using canvases was sort of splatted out into the discussion with no details of how to make it work. You have done the deed, so any tips you can give would be very well received.
You can manage with just one beauty canvas. You generally don't need to do any compositing if you're just using an HDRI to light, or if you are happy with your lighting. All you need to do is adjust the exposure of the EXR file and save it out as an HDR file.
There are other methods, but I went with this one, since you only ever work with a 32-bit image and you can do tone mapping, etc with it, if you choose to.
I've not done this another way, but I've seen a method using JPG images demonstrated here. https://www.youtube.com/watch?v=JeLdxBQzDdw
Added: You may want to fiddle with the focal length. I didn't do any of that for this, but it might be helpful.
Great tips - thanks for posting them.
After bringing up the Ultrascenery thing, I thought I'd try one but with higher resolution. This was rendered at 8k x 4k, which I started before heading to bed and took about 3 hours. It's obviously not something you'd want to do unless you really can't fit stuff on your GPU, or else want to render multiple images in the same spot.
I set up my camera toward one edge of the scene, using Orestes Vanilla Evening Skydome as the lighting.
And then I stuck a character in the scene and did a couple of renders that took about 20 minutes to converge at 95%.
Now these are just proof of concept type renders. Typically, you'd add a bit more lighting for the figure. These are lit by the HDRI alone.
It's such a great solution when you're working with something like UltraScenery that takes up so much memory. I might give this a whirl to have a few go-to HDRIs that have the lighting I'm looking for.
I've been toying with doing something like this, so it's nice to see how others are approaching it. An alternate cheat that's worked really well for me is to simply put an image of somthing that would be off-camera on a plane primative, turn that into an emmisive source and then place it where that light would be coming from.. basically a flat skydome. It's not as accurate as an HDRI, obviously, but for things like light coming through a window it's fairly effective.
Thanks very much for this info. I'm afraid my one attempt using only a Beauty Canvas was an unmitigated disaster. Then again, I'm always hacking through the underbrush instead of following paths, so I was attempting to do it with an old 3Delight set that I'd treated with the iRay Uber Base shader (I think that's the right name, although I can never find it when I want it). It came out essentially as a high-contrast black-and-white negative image. Weird.
As soon as I can I'm going to try again with, but with a natively iRay-ready set. Hope springs eternal ...
This method definitely works, it's just that the light intensity can have some issues.
One solution is to reduce the light intensity in your original scene, which you're turning into a HDRI. (The sweetspot is around 0.0002 if I remember correctly) The advantage of this is, that you won't need to adjust the light intensity everytime you use that HDRI later. However, it also has a drawback: if the HDRI you used for the original scene doesn't provide enough light, then the HDRI you create will not only be very dark, but it will also be extremely grainy. In those cases, revert to the second solution:
Not reducing the light intensity in your original scene. The resulting HDRI will be more crisp, but will also have the drawback of being extremely overlighted, so you will need to dial down the light intensity every time you use it.
Some general pointers:
Don't raise the camera in your original scene too high, or you'll end up with the horizon of your "source" HDRI above the horizon of your scene (like, higher than the buildings and whatnots surrounding your camera). The result just won't be a pretty HDRI anymore, though it will still look very decent when used for top-down images, where the horizon is out of the picture anyway. So, in general, try to have your source-scene obscure the horizon of the source-HDRI. This can be somewhat mitigated by adding more "blocks" around your central area, and slightly raising them, the further they are away from you. Don't overdo it, because things will start to look odd.
High-res beauty canvasses give massive files. An 8000x8000 pixel beauty canvas easily results in a 1 gigabyte .exr file.
Some shots with a HDRI I made a few months back. The second image was actually one of those HDRI's with the camera raised "too high", but as you see, it's still neat for top-down renders.
That's a good point. You'll want to have your camera approximately the height your camera will be in the final render. In the office scene, I rendered with my camera 1500 thingies above vertical because that was the view I was after, but then I had to raise my office set to the same height so that the perspective wouldn't be off. These aren't really general use HDRIs, like Orestes skies, rather their purpose is to provide a background that doesn't already exist for specific scenes.
Thanks very much for all this information, Drip, and for those great renders showing this process in real-world (well, real-virtual-world) use. I'm not going to requote all your info and images, but I have a question about one part of it:
First I hope (think?) you must have meant 8000x4000. Is that right? I'm asking because when I created my first homebrewed HDRI using Melissa Conway's method and Photoshop to combine the three different exposures, I inadvertently (read: stupidly) didn't change the aspect ratio to 2 x 1 when I made the spherical camera renders. I think it was set to 16 x 9 for the video I had been working on. The short story is that when I tried to set my homemade "HDRI" as the image map for the Daz dome, I had one of the most spectacular crashes of my computer I have ever witnessed. (Not braggin', just sayin'.)
I'm on a Mac. Daz Studio sort of "exploded" graphically, with the Desktop and DS shattering into weird geometrical shapes, like shattered plate glass, flickering in and out of each other rapidly and continuously. I couldn't even Force Quit DS or anything else. I had to do a hard reboot.
So that 2-to-1 ratio issue asside, is there a resolution we can pretty much "get away with" for HDRIs made in DS? I have searched and searched and searched trying to find some "standard," and it seems to be all over the map. I have opened quite a few of the HDRIs I've gotten from other sources, and it seems that 4000 x 2000 seems to be pretty common, although I have some that are half of that, and to my eye they mostly look pretty darned good (at least for animation).
Any thoughts on that aspect? (Pun puckishly intended, but partially unavoidable.)
Shower Thought: Would be allowed to have a thread in these forums sharing our HDRIs made from within Daz Studio, as HDRIs?
Depends on what you're using it for. If it's for something like my office scenes, and are planning to add lights, and especially if you use DOF, you don't need high resolution. It also depends on how close to the camera you want stuff to appear, and the quality of the scenery you are rendering in your HDRI scene. 4k x 2k should be decent for most purposes. If it's an indoor scene, like in the video I linked, it depends on how good you need your renders to look.
This, basically. The 2:1 ratio is pretty standard, since it also gives a better idea what the HDRI actually looks like, and most people don't really look up or down, but mostly horizontal. But, if your renders are away from the horizontal plane, and you want to take a shot that goes nearly straight down or straight up, then you might want a 1:1 ratio, or even a 1:2 ratio for your HDRI. It's all theoretically possible, but whether a given computer or graphicscard can handle it at a given resolution might vary.
The other thing to consider: the higher the resolution of the images you make using your HDRI, the higher the resolution you will want that HDRI to be. An 8k HDRI is very detailed, but when you use that HDRI to render a figure, you probably won't have the entire HDRI in your field of view. Just about 5% of it. And if that image you're rendering happens to be about 8k in resolution as well, then you're actually trying to stretch 5% of an 8k HDRI back up to 8k, making the background look blurry and pixeled. There are some tricks to compensate for that, like using DOF, but if you want your HDRI to be rendered as a crisp background, it will have to be bigger than the image you want to render with it. Ideally, somewhere between 15 and 20 times bigger. So, the size and ratio of your HDRI will depend on the renders you intend to use it for.
For non-professional use, 8k is generally fine if your renders go upto about 1024x768 pixels. The background may appear somewhat blurry, but it's not too bad yet, and can still be mistaken for depth of field, and even further obscured by using actual depth of field settings.
I've had a devil of a time trying to make HDRIs that provide proper lighting.
My feeling is that you are better off using an HDRI and then augmenting with spotlights set appropriately far enough away with lighting that synergizes with the HDRI.
So, for example, you know the sun is off THAT A WAYS and then add a light from that direction that works better.
This also makes it way easier to use even 8 bit images.